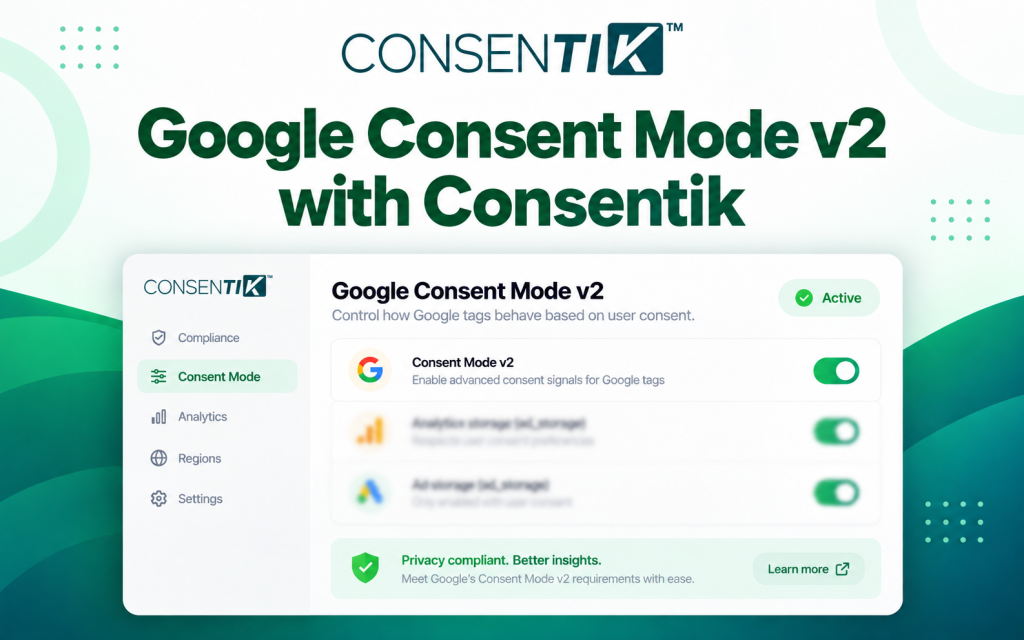
Google Consent Mode v2 lets your website tell Google tags what a visitor has agreed to, so that Google Ads and Google Analytics 4 adjust their behaviour to match that choice. Consentik sets these signals for you: you configure a banner, and Consentik sends the consent commands in the right order, on every page, with no code changes.
What Consent Mode is, and what it is not. Consent Mode is a technical mechanism for communicating a visitor’s choices to Google tags. It is not, on its own, a solution for any particular law or regulatory requirement, and installing it does not by itself make a website compliant. You remain responsible for determining which obligations apply to you and what your banner must say. Consent Mode is one building block that helps you act on the choices your visitors make.
The four consent signals Google requires
Every Consent Mode v2 implementation must set these four consent types, both in the initial default command and in the update command that follows a visitor’s choice:
| Consent type | Controls |
|---|---|
ad_storage |
Storage related to advertising, such as advertising cookies |
ad_user_data |
Sending user data to Google for advertising purposes |
ad_personalization |
Using data for personalized advertising and remarketing |
analytics_storage |
Storage related to analytics, such as analytics cookies |
In Consentik these are mapped to the categories a visitor sees on the banner. The Advertising category controls ad_storage, ad_user_data and ad_personalization together; the Analytics category controls analytics_storage. Accepting everything grants all four; rejecting everything denies all four.
Basic and Advanced consent mode
Google supports two ways of running Consent Mode. Both are valid; they differ in whether Google tags are allowed to load before a visitor has made a choice.
Basic consent mode
Google tags are blocked until the visitor consents. Nothing is sent to Google before that point, so no measurement data at all is collected from visitors who never interact with the banner.
When to choose it: when you want no Google tag activity whatsoever before an explicit choice.
Advanced consent mode
Google tags load immediately but run in a restricted state. Before consent they send cookieless pings that contain no identifiers; once the visitor consents, full measurement resumes. This recovers modelled conversions for visitors who decline or ignore the banner.
When to choose it: when you want to preserve measurement quality, and when your Google tags are delivered in a way you do not fully control — for example through Google Tag Gateway, where the tag script can load before any CMP script.
Full reference: Consent Mode — Google Developers.
Building a banner that meets Google’s requirements
Google expects a consent banner to do three things. Consentik’s default template already includes all three, and you can edit the wording from the dashboard without touching code.
1. Say what the data is used for. The banner must explain that data is collected to personalize advertising and to measure advertising performance. Do not leave this implicit.
2. Link to Google’s privacy information. Include a link to https://business.safety.google/privacy/ so visitors can read how Google uses data from sites that use its services.
3. Offer an affirmative consent option. There must be a clear action a visitor takes to agree — an Accept button. Continuing to scroll, or simply browsing on, is not affirmative consent. Give the reject option the same prominence as the accept option.
Sample banner copy
We and our partners use cookies and similar technologies to personalize advertising, measure how our advertising performs, and analyze site traffic. You can read how Google uses data from sites that use its services at business.safety.google/privacy.
[Accept all] [Reject all] [Manage preferences]
If you are not using the IAB TCF framework, we recommend using this banner template. It is the configuration Consentik ships by default, and it is the one we recommend for Consent Mode implementations without TCF. If you do run TCF, your TCF banner takes the place of this template and Consentik derives the Google consent signals from the TC string instead.
Keep the banner reachable after the first choice, so visitors can change their preferences at any time. Consentik shows a persistent re-open button for this.
Set it up
Setup is guided end to end — the wizard walks you through choosing a mode, wording the banner, and going live. No manual tag or code edits are required.
Start the Google Consent Mode setup →
Consentik provides the same guided setup on every platform it supports:
- Shopify — integrates with the Shopify Customer Privacy API alongside Consent Mode
- WordPress — integrates with the WP Consent API alongside Consent Mode
- Wix — integrates with the Wix consent policy manager
- Google Tag Manager — an official Consentik CMP template in the Community Template Gallery sets the defaults and updates for you
Verify your implementation
After going live, confirm the signals are correct:
- Open your site, press F12, and type
dataLayerin the console - Find the earliest
['consent', 'default', ...]entry — all four consent types should readdenied - Interact with the banner, then check
dataLayeragain — Accept all should grant all four, Reject all should deny all four - Check that
google_tag_data.ics.wasSetLatereturnsfalse, which confirms the default command ran before the Google tags - Cross-check with Google Tag Assistant: click Add domain, enter your URL, and review the consent state it reports
Consentik’s dashboard also includes a diagnostic tool that scans your pages, reports any where the consent default is missing or late, and emails you when it finds a gap.