This guide will walk you through adding a Cookie Banner to your ShopBase store. ShopBase is a powerful e-commerce platform that enables entrepreneurs to build and scale their online businesses. In the world of online retail, establishing customer trust is fundamental to success. A critical component of this is being transparent about data privacy and complying with global regulations like GDPR, which require clear consent for the use of cookies. Implementing a cookie banner is a vital step in meeting these legal obligations. This guide provides a simple, no-code solution to integrate a compliant banner, ensuring your ShopBase store operates transparently and professionally.
Step 1: Create and Configure Your Consentik Cookie Banner
The first phase involves setting up your banner in the Consentik dashboard and getting the installation code.
- To begin, you will need to create an account at
https://cmp.consentik.com/admin/register. - After creating your account, set up a domain for your website and complete the onboarding process.
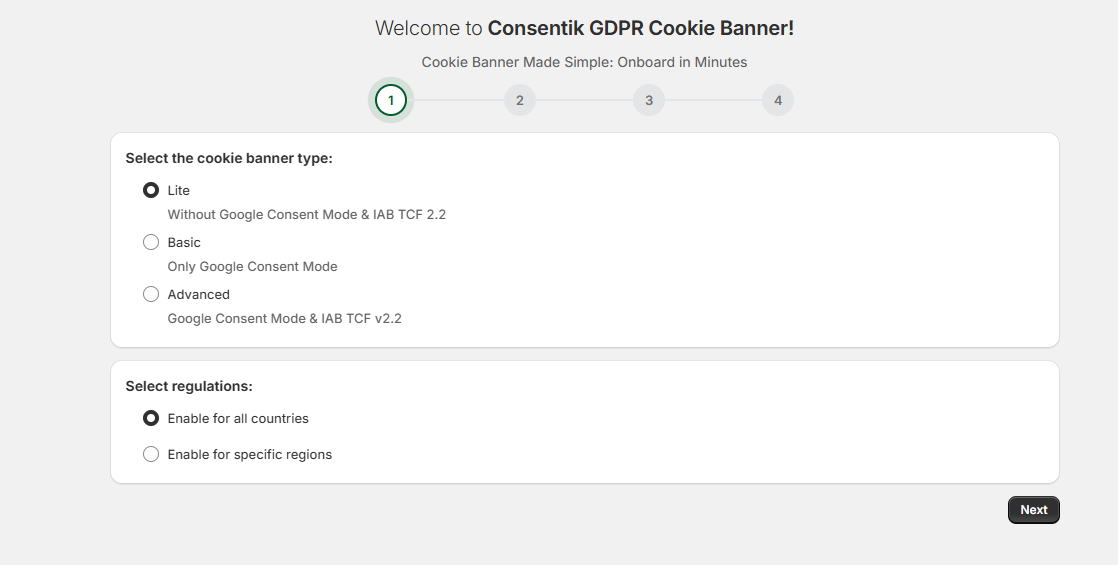
- During the onboarding, you will configure your banner’s settings:
- Select the cookie banner type: Choose between Lite, Basic, or Advanced options.
- Select regulations: Enable the banner for all countries or for specific regions.
- Once you have completed these steps, an installation code will be generated for you. This code must be pasted into your website’s
<head>tag. Click the Copy button to copy the code snippet.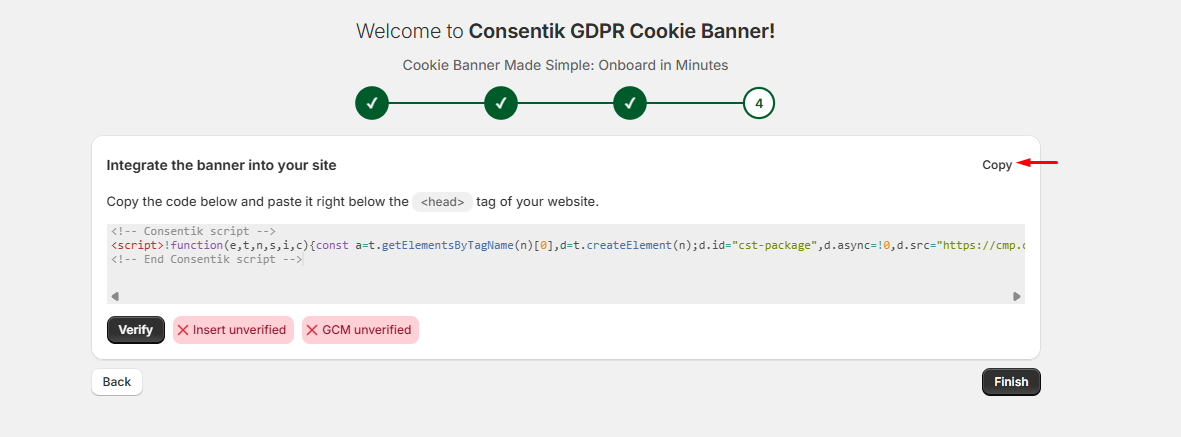
Step 2: Add the Cookie Banner Code to Your ShopBase Store
With the code copied, you can now add it to your ShopBase theme settings.
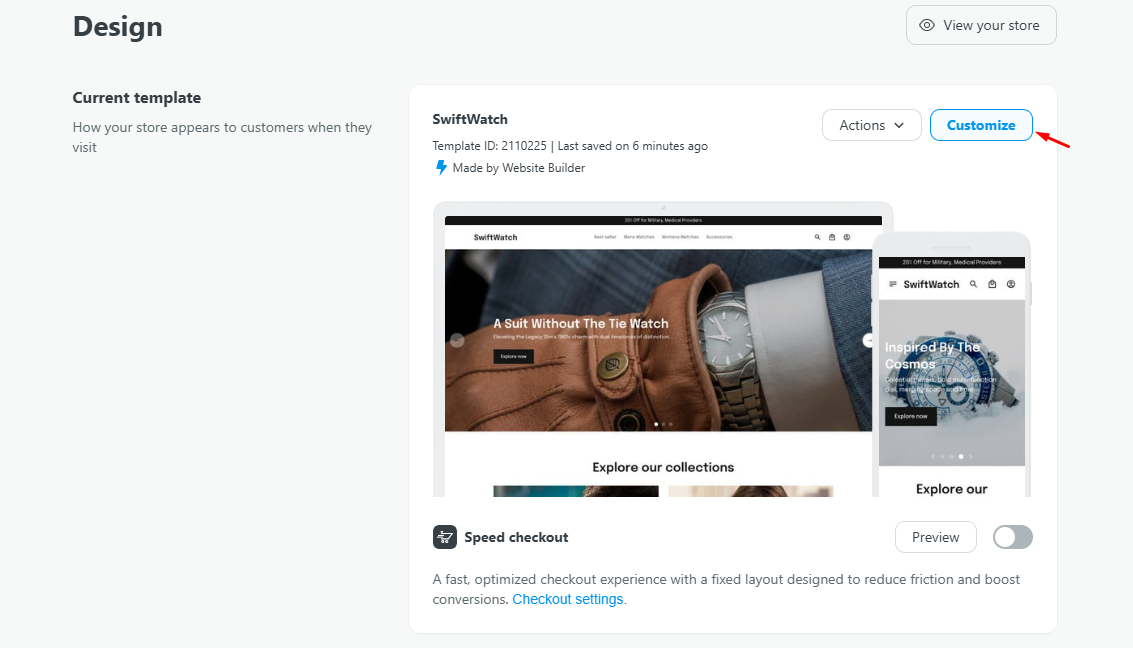
- Open your ShopBase Admin dashboard and navigate to the Online Store section.
- Find the Current template section and click the Customize button.
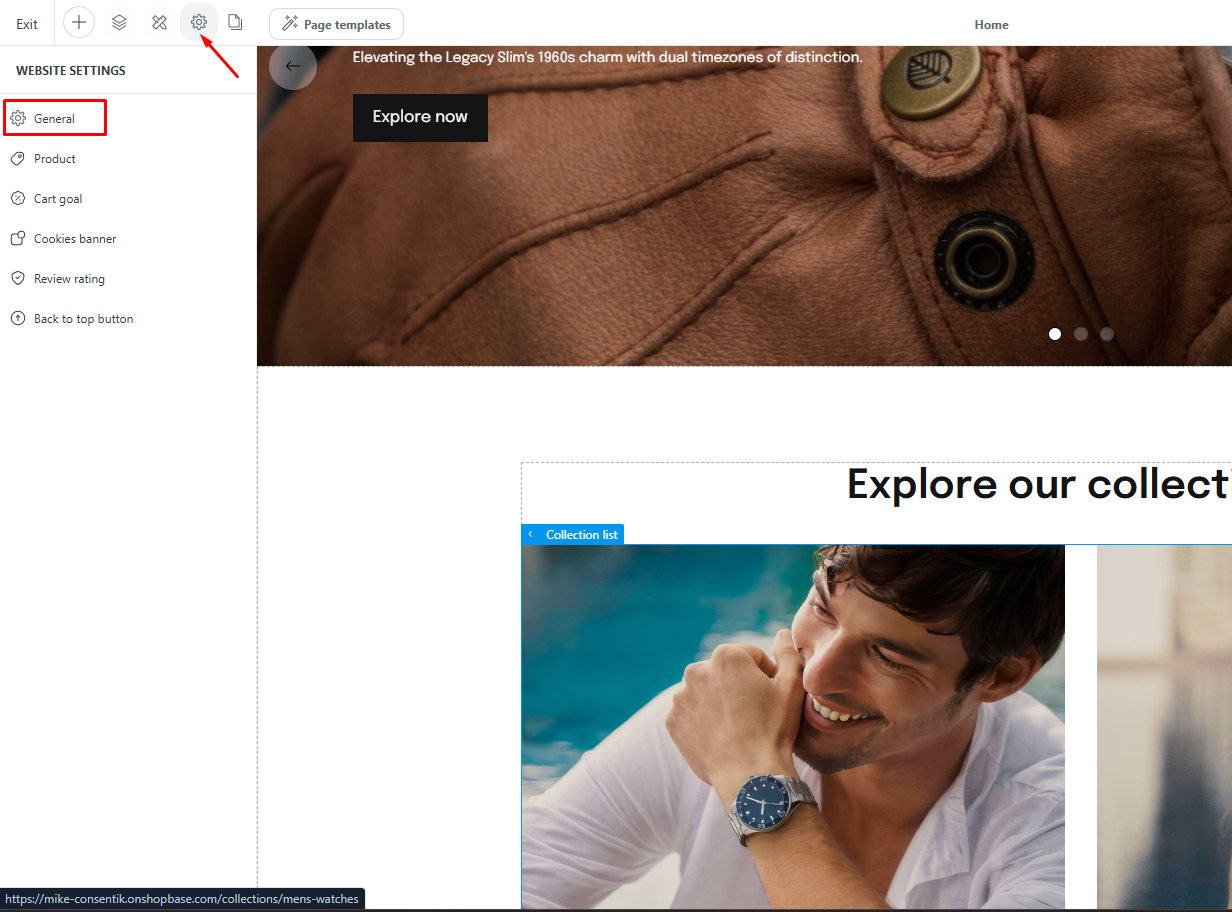
- In the theme editor sidebar, select Website settings, and then click on General.
- Scroll down to the ADDITIONAL SCRIPTS section.
- Paste the code you copied from Consentik into the box under the Inside
<head>tag heading.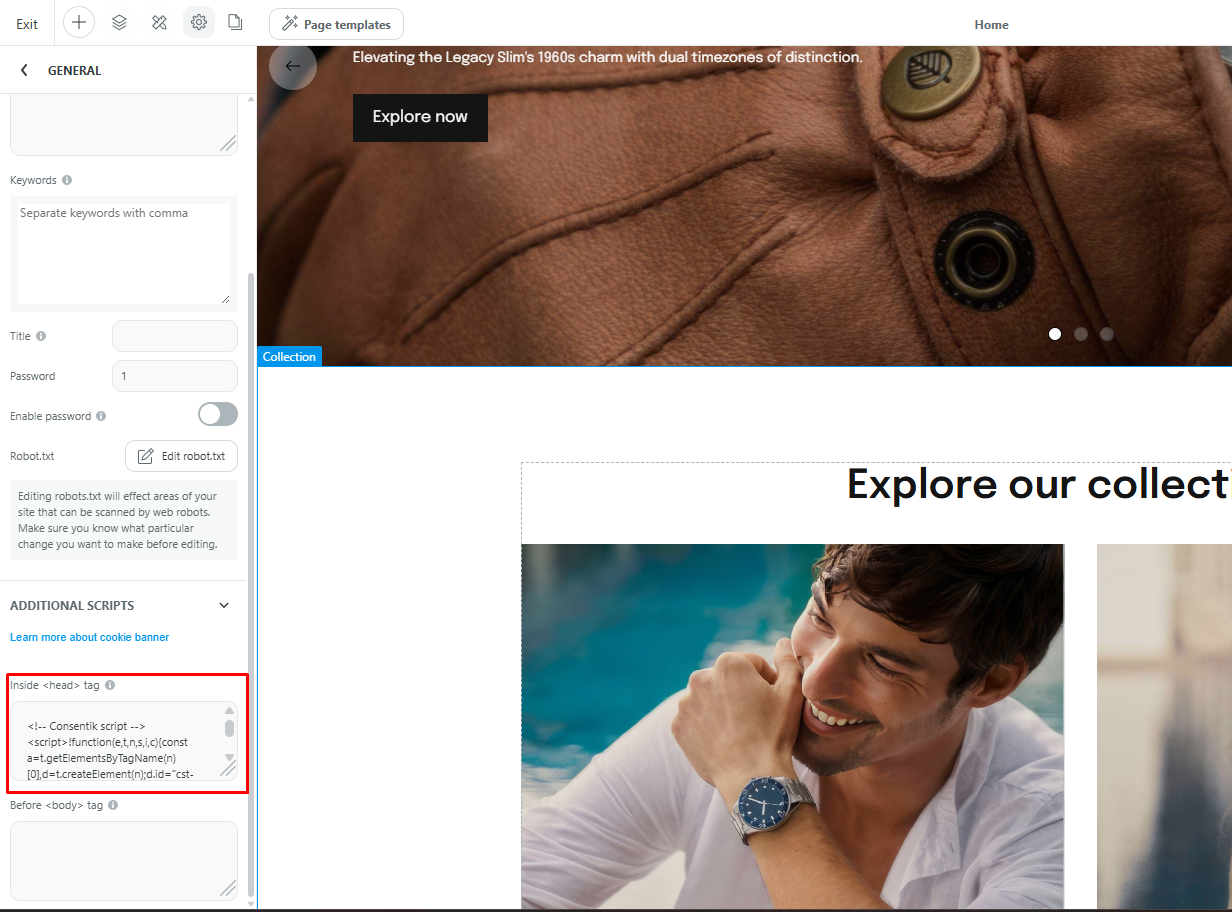
- Finally, Save and publish the storefront to make your changes live.
Step 3: Verify Your Installation
After publishing your store, return to the Consentik setup page. Click the Verify button to confirm that the banner has been installed correctly on your site.